Why would anyone make timbers from 2x12s? Answer: Because you can bend them, they tend to be good quality lumber, and they are relatively cheap.
Erik, my son-in-law in Hibbing purchased a large garage-type building to remodel into his new chiropractic office.
An extremely capable and hard-working carpenter named Ben is doing most of the work.
Erik and my daughter asked me to work with Ben to help spiff up the look of the entrance area with a timber frame-looking facade featuring
a big curved beam. The basic design they had in mind was like this (beams are just drawn in here).
I suggested making laminated hollow beams to save on lumber, glue, and weight, and to make it easy to make the curve.
After checking the price of both red and white cedar, we decided to look for off-the-rack
framing lumber. Two by twelves in longer lengths tend to be decent quality because they need
to get them out of a pretty big tree. I pawed through the stacks of 18-foot 2x12s at three different
Twin Cities Menards stores to find 6 primo ones. The total bill was about $300.
A Ripping Good Time
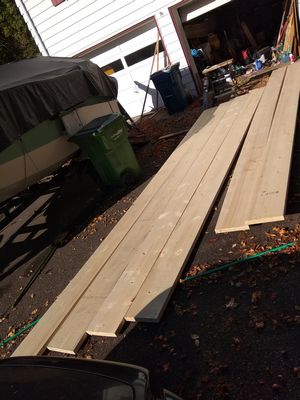
I spent a beautiful Sunday afternoon ripping out the boards needed -- 8 5-1/2 inch planks and 24 2-1/4 inch staves. It was altogether more enjoyable than watching the Vikings lose another game.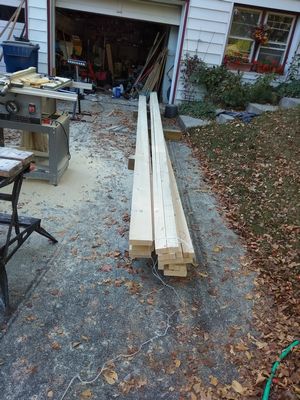
I put those 2x12s to good use -- here is the total amount of left-over waste.
I won't talk about the boring job of making 25 clamps out of 3/8 threaded rod and scrap wood -- sigh. Anybody need clamps?
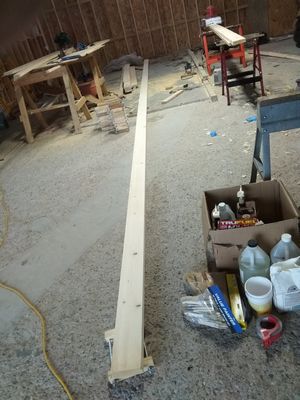
Making 34 foot Boards
After hauling everything up to Hibbing it was time to stretch half of those 18 footers to 34 feet by scarfing them together. (The finished length of the curved beam will be about 28 feet.)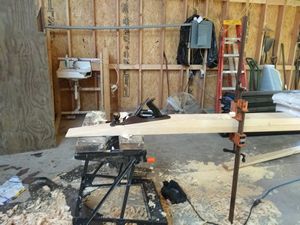
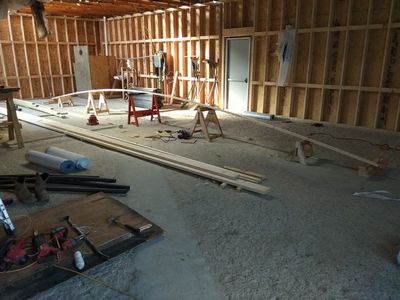
A Fair Curve
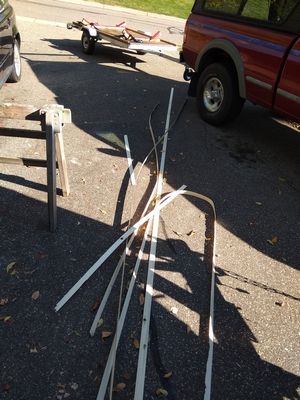
I wasn't sure the two joined 2x6s would be equally bendy so I measured the height of a
fair curve at different intervals of a half-scale model I made by bending one of the narrower 18' staves.
Doubling these, plus a 6" baseline gave me the heights of sawhorses to support the beam at various
intervals. A 34 foot 2x6 is pretty bendy so it took relatively little pressure to fasten the
ends down after draping it over the sawhorses.
Assembly
I dry-assembled everything with screws before gluing so that the screws would realign the pieces
when covered with slippery epoxy. Solid blocking was added at the ends of the beams.
The gluing involved coating both surfaces with unthickened epoxy, then coating one surface with
epoxy thicked with wood dust from my sander. It took about 1 gallon of epoxy to glue up all three beams.
I greatly reduced the amount of post-glue up sanding needed by putting impermeable tape on outer
edges of the boards, which I peeled off along with the epoxy squeeze-out after a few hours of curing.
(Warning: If the epoxy has hardened too much the tape can be hard to peel without breaking.)
The fact that
work space was unheated, hovering around freezing or below, kept the epoxy from setting
up prematurely. I put plastic tarps over the beams and used electric space heaters to cure
the epoxy overnight.

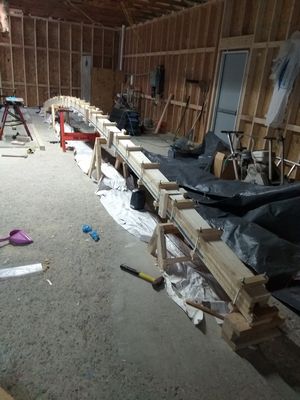
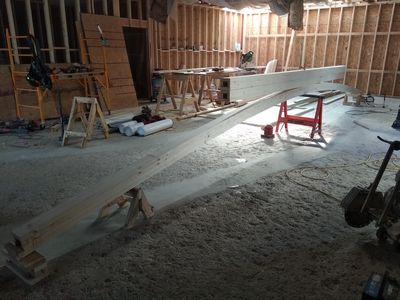
Completed curved beam with the straight 18 footers stacked on top:
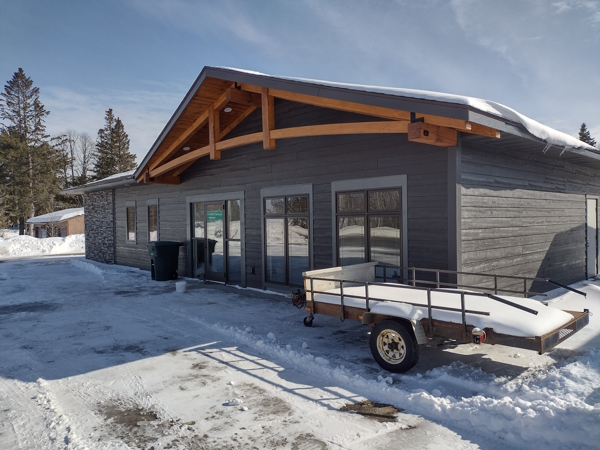
Finished Product
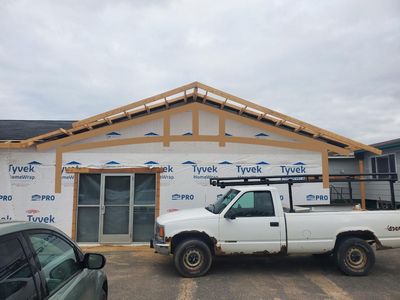
Here is how it looks all after installation by Ben, the talented builder who's been doing all the work.
Almost ready for the grand opening.
lindburly@comcast.net