My wife and I bought a 10-acre strip of tax-forfeit forest land across the road from Minnesota's McCarthy Beach State Park
a few years ago.
The towering Norway pine and undulating glacial morraine are a perfect setting
for treehouses and my son and I had been dreaming about building one.
Aaron now lives in Pittsburgh, but was able came back for a couple of weeks to
help me put one up.
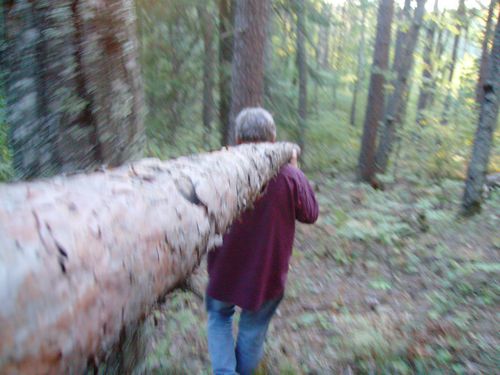
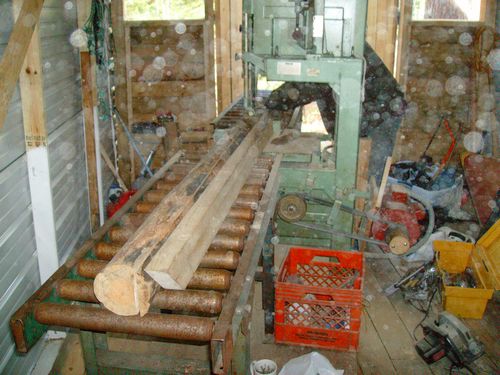
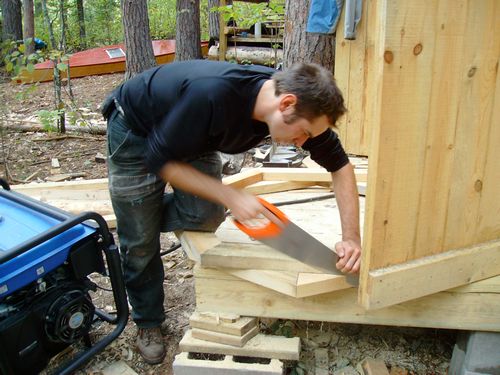
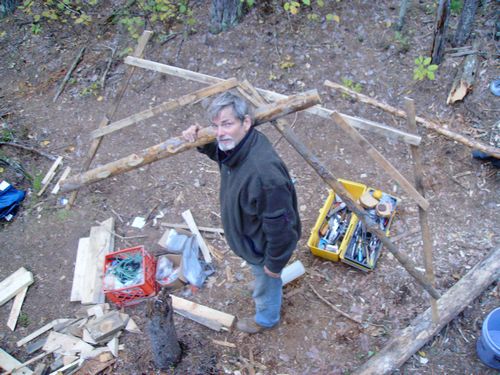
Earlier I had purchased a stack of rough-cut lumber from a neighbor and
built a wood rack and a 20' X 10' utility shed. I also bought a
generator, an "antique" Parks planer, and an old re-saw bandsaw. These had their uses, but
we did the majority of the work with hand tools.
We enjoyed the challenge of pretending that we were pioneers as we dealt with
the numerous design and construction challenges. This involved a lot of head scratching and arguing,
but was a great learning and bonding experience for both of us.
New: Aaron and I build a 2-way zipline
The Plan
We had toyed with a number of design alternatives involving curved, laminated
frames, multi-story towers, or geodesic pole structures but, decided to go with
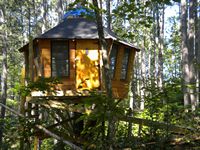
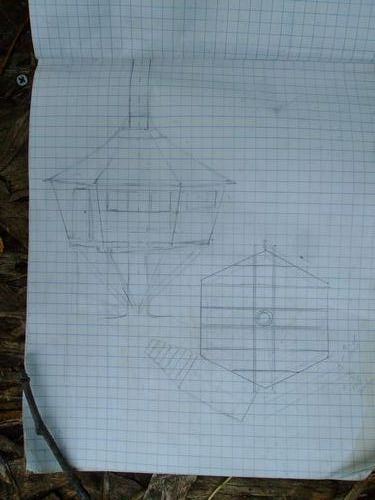
a "simple" hexagon with outwardly canted sides. We drew up the plan, below, the
night before we left. These trees sway like crazy in the wind so we wanted to
keep the parts that are attached to the tree contained within as short a
vertical span as possible. Next to the plan is a photo of how it looks one year later.
We reduced the length of each side by six inches and canted the walls less
steeply so that 8' panels would cover the roof overhangs. As built, the
floor measures about 13 feet from corner to corner and about 11' from side to
side.

The Tree
The tree that we picked is up on a knoll with magnificent views of a tiny meadow below, another knoll to the right, and the surrounding
forest.
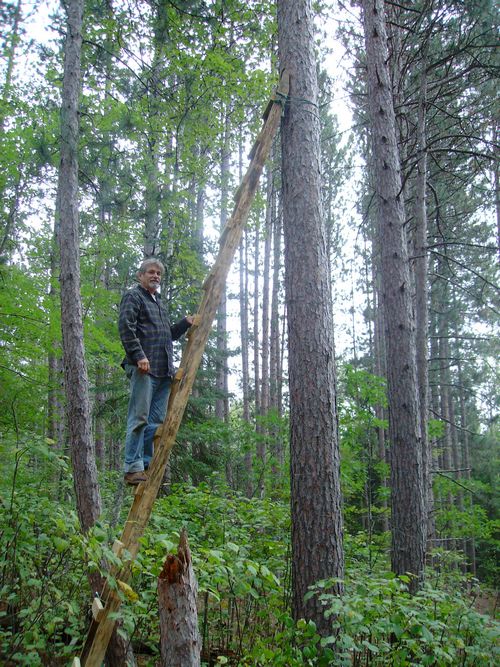
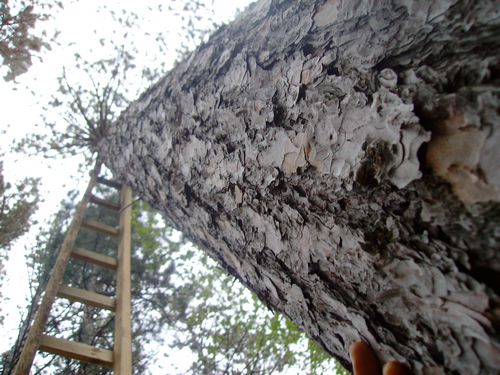
Building the Platform
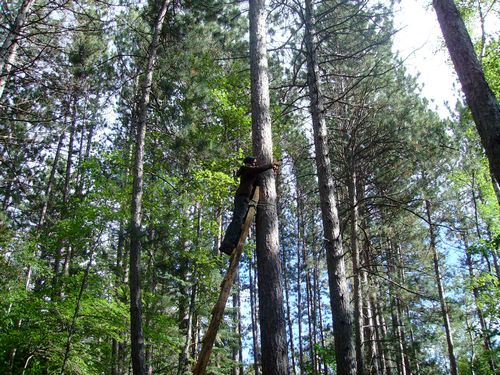
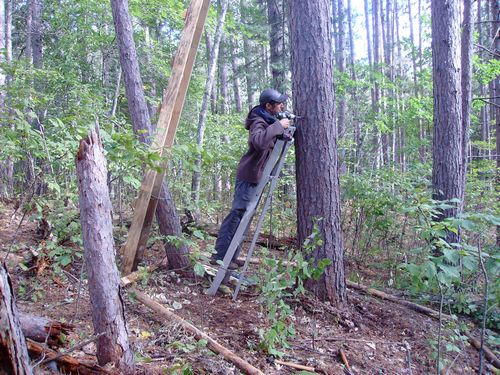
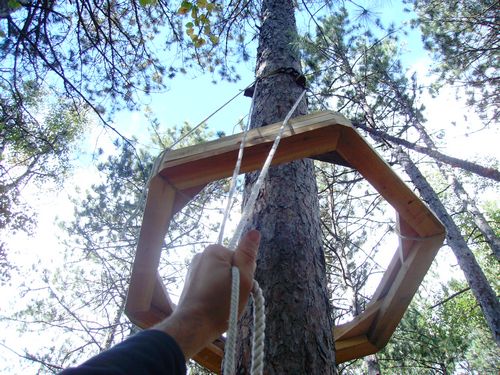
Attaching an anchor point for hauling and safety lines high in the tree using
a heavy nylon tie-down and quicklinks

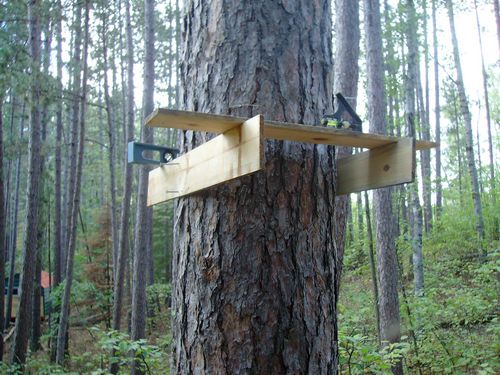
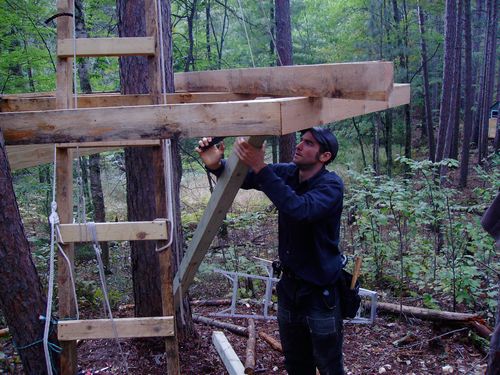
Aligning hole locations on both sides and attaching support beams with 3/4" X 8" lag screws.
We'll fasten our joists and flooring in a way that allows the support beams to
bow outward as the tree grows.
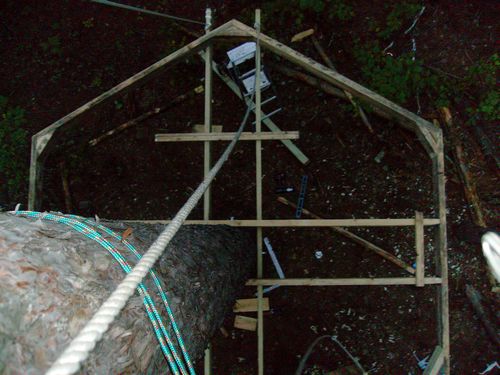
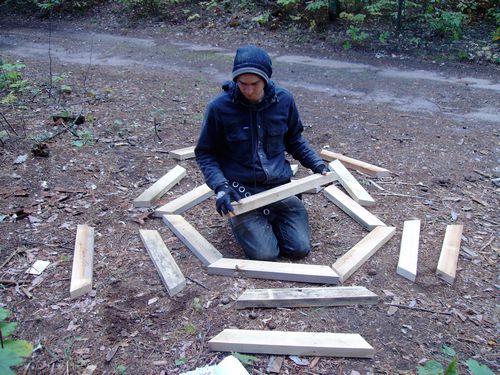
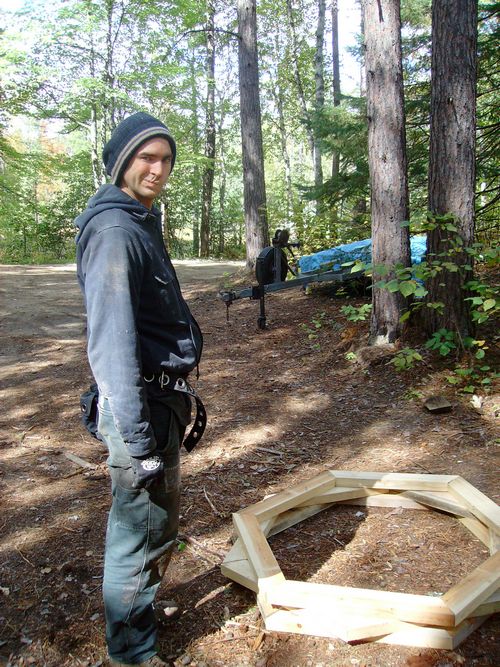
Laying out hexagon and making reinforcement blocks for corners
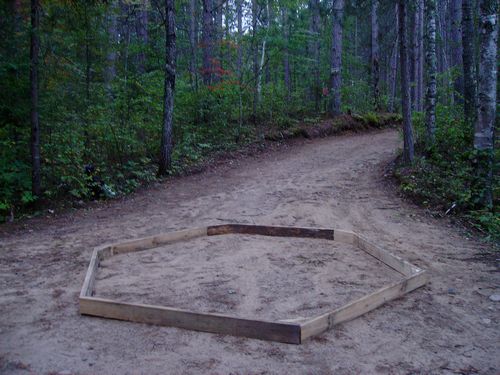
Building hexagon base
Building the Corner Support Braces
Jig for measuring needed length of brace / Aaron attaches upper end into corner block with 1/2" X 8" lag screw
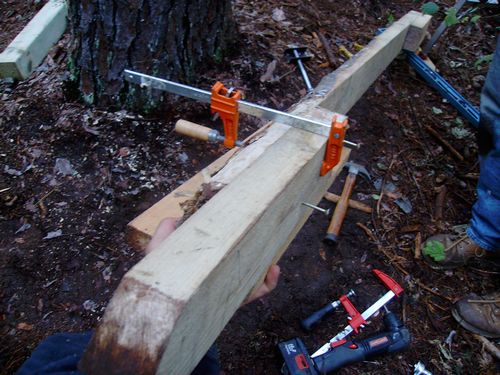
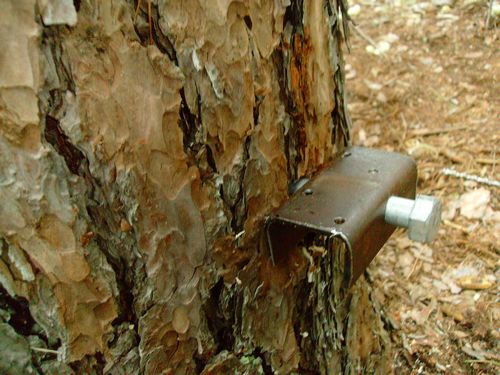
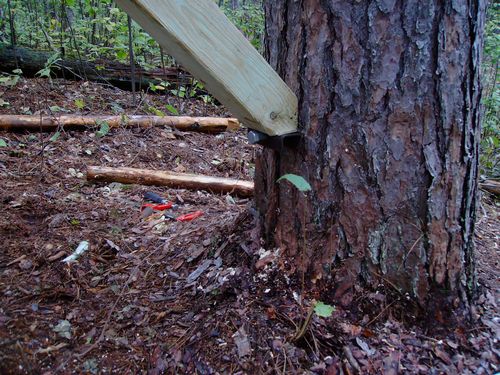
Bottom of support braces attach to slider made of a piece of channel iron mounted on
a 5/8" X 8" lag screw. We made the sliders in the morning before we left.
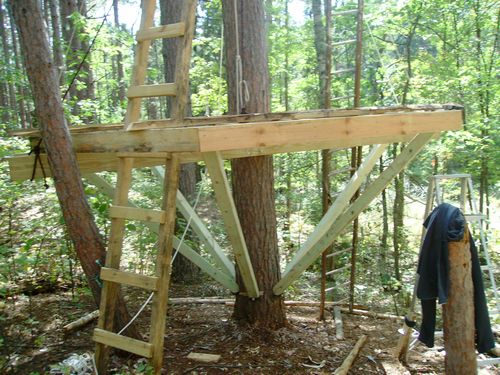
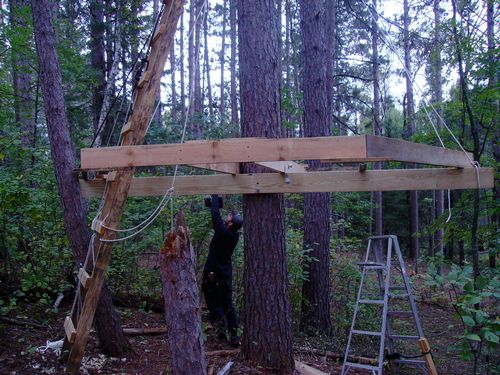
Adding cross-joists
Building the Wall Framework
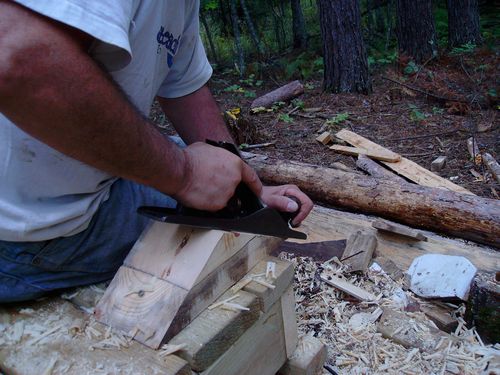
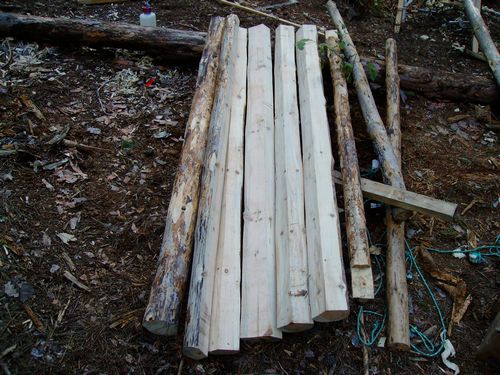
Collecting free lumber from the woods for corner posts and studs
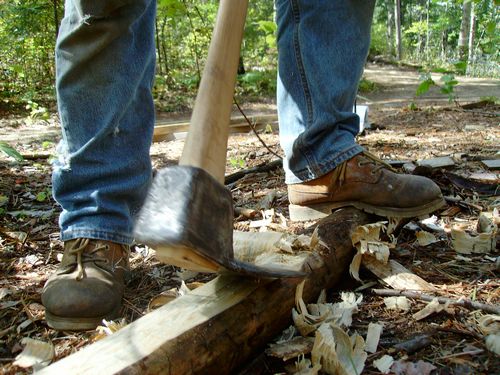
Completed corner posts / Cutting a flat surface on the studs was quicker and
easier with an adze than with bandsaw
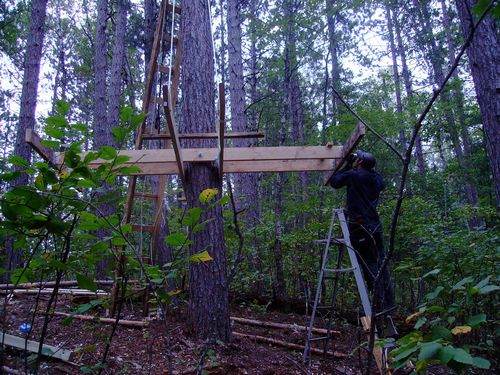
Aaron built an ingenius jig for correctly postioning the corner posts -- a very
tricky business. We had to tape a 30 degree wedge to our level to get a proper reading.

Final adjustments were made using 6 equal-length spacing sticks, then upper
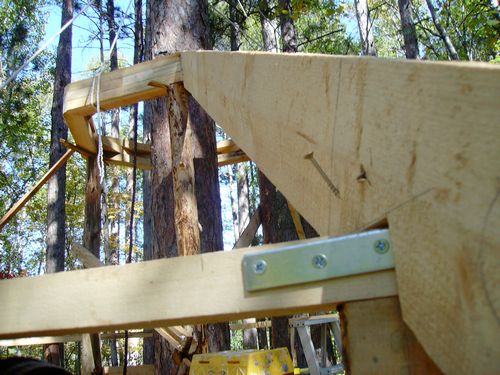
hexagon was installed. Steel brackets bent to 120 degrees hold the upper structure together.
Log studs were added between the corner posts
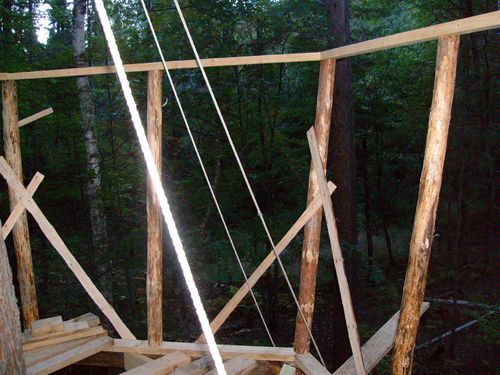
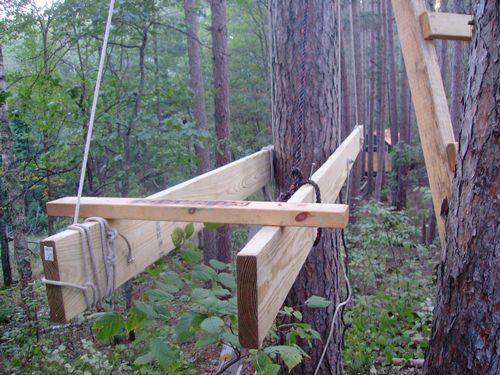
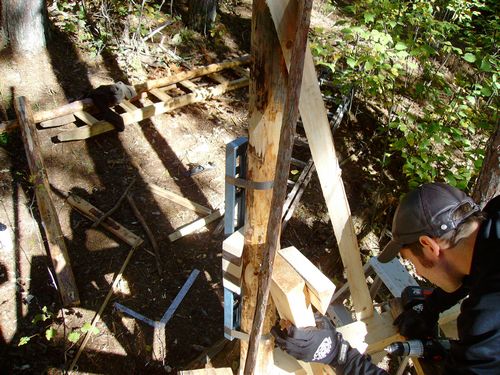
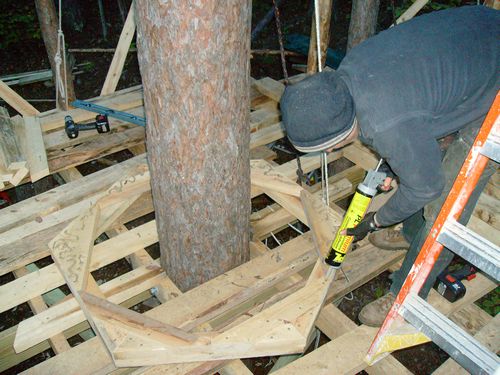
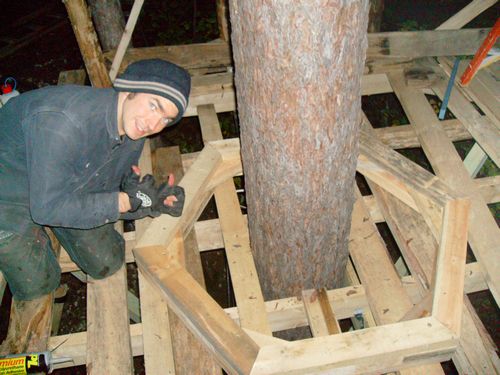
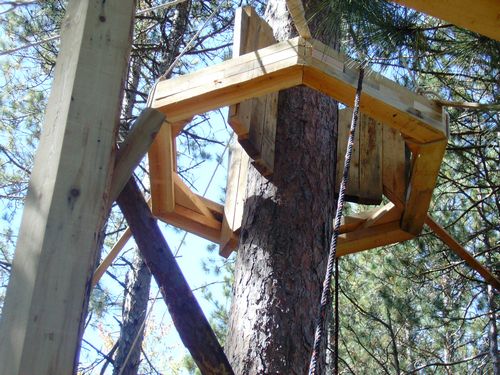
Building and Positioning the Compression Ring
We wanted the tree to be able to sway and grow freely so we built a compression ring to which we could attach the rafters.
Middle corners were sawn off and moved over to sandwich between top and bottom
corners

Luckily, we remembered to put it around the tree before gluing it together
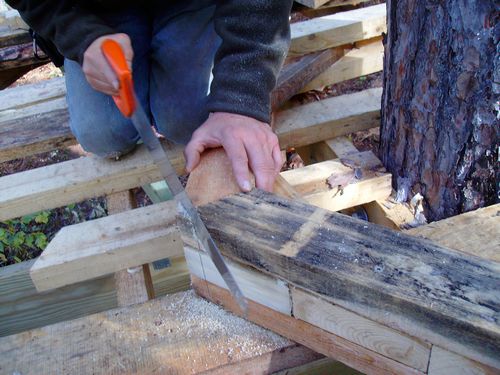
Final step was to saw bearing surfaces on the corners for the rafters (Note
that some of the wood was a little moldy, but it came perfectly clean after
bleaching.)
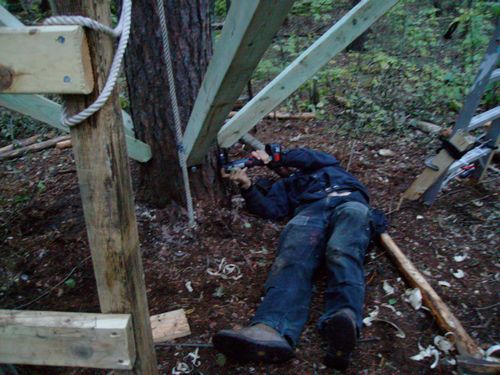
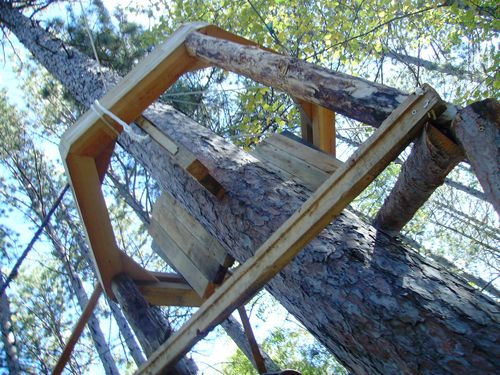
We temporarily positioned the ring with wedges, but then supported it with a
tripod of posts and removed the wedges because the tree was waving around so
much in the wind.
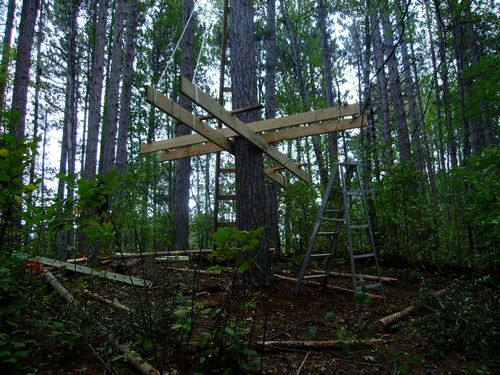
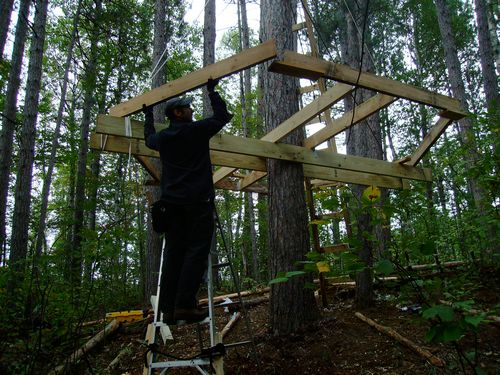
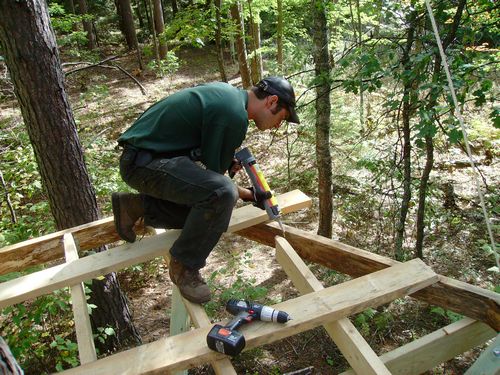
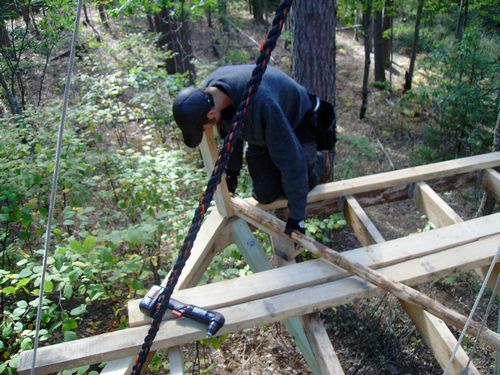
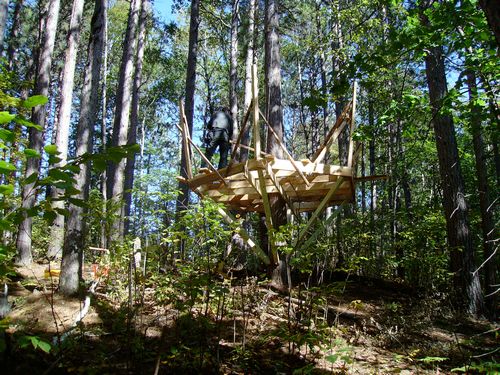
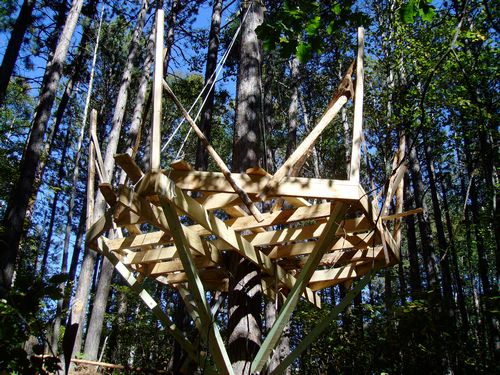
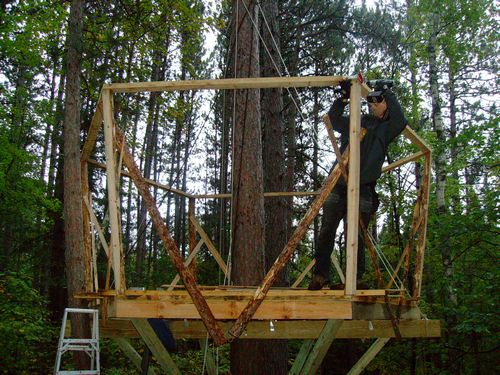
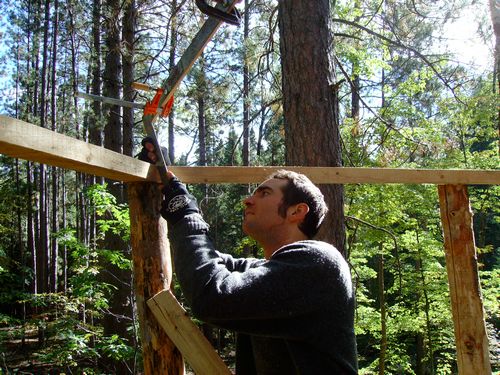
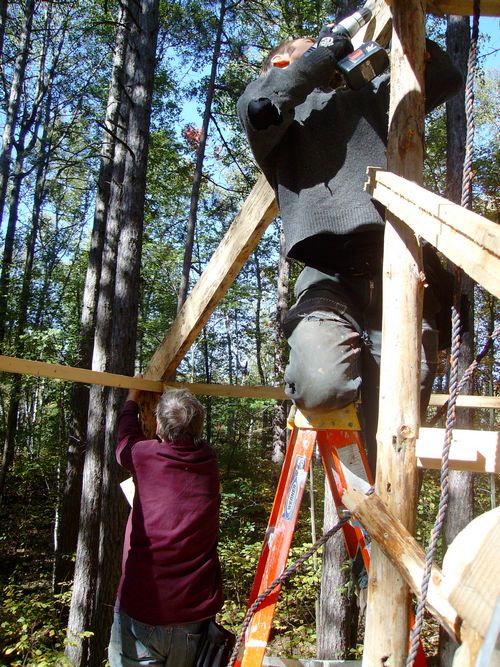
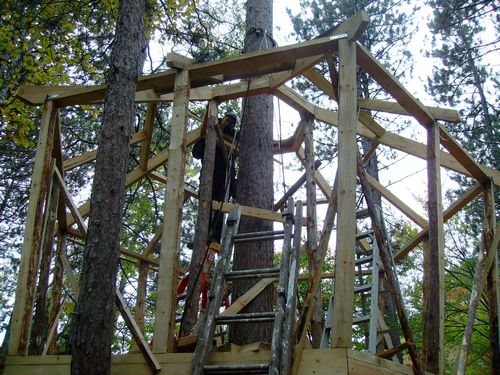
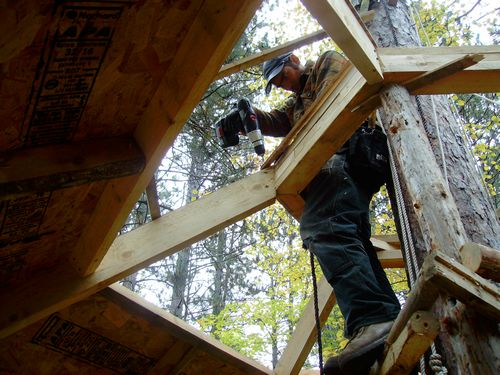
Building the Roof
Neither of us had any experience with rafter fitting, but Aaron devised a method that worked beautifully. He attached a carpenter's square
to a stick to measure the length to an inner corner at a set height, while I recorded the angle at the ring. Then through various
adjustments, he calculated the position and depth of the notch. I left the raftering in his able hands and busied myself with
locating the positions of the cross-joists between the rafters and determining the compound angles needed for those pieces.
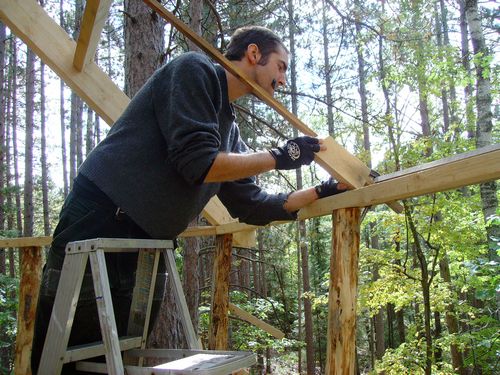
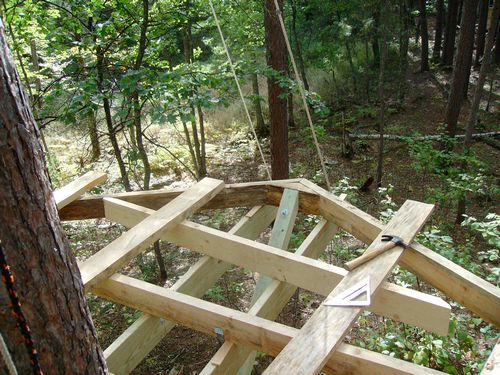
Finished roof support structure
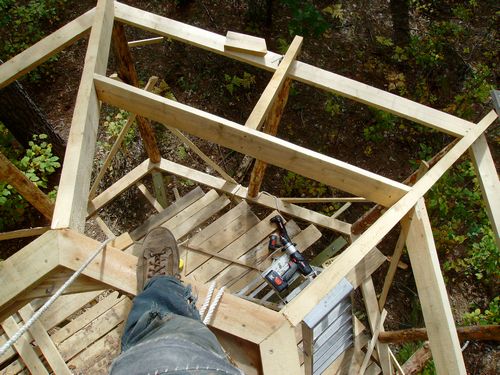
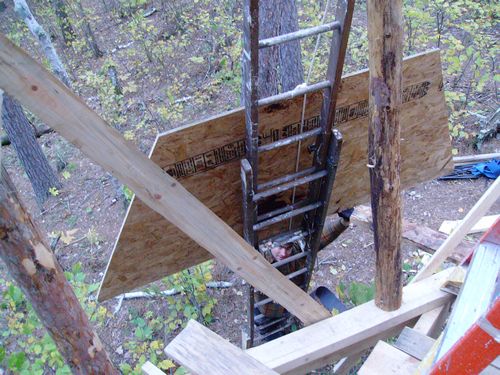
Covering the Roof
We covered the roof with 1/2" oriented strand board (OSB) and (for now) 2 layers of roofing felt. The panels varied slightly in
size so we used an adjustable pattern to cut out each piece. Below I'm heading down to the circular saw with the pattern,
then we're hauling up the finished piece. We tar papered each piece as we went so that we wouldn't have to go out on the steep roof
to do it later.
Here, Aaron is setting up a similar pattern one of the upper panels
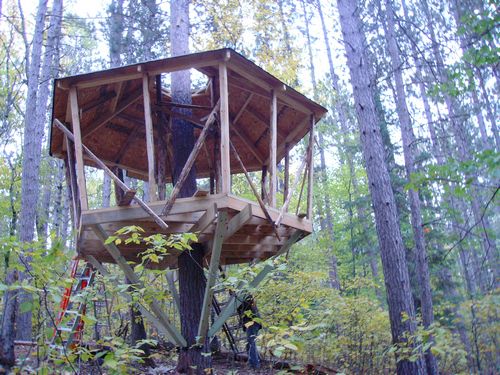
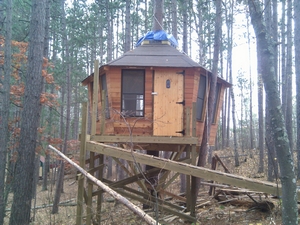
As Far as We Got
This is as far as we got after 11 days.
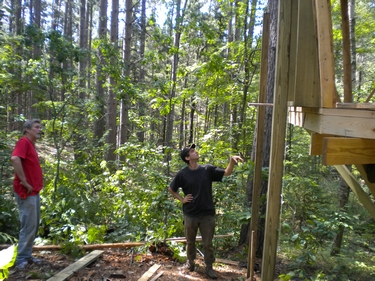
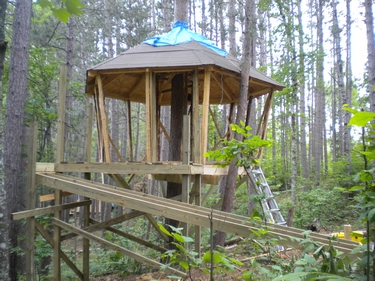
Summer 2011 -- Adding an Access Ramp/Deck
Aaron and Jen came for a visit in early summer and we make it a lot easier to get into the treehouse. Aaron came up with a nifty
design for a ramp alongside a freestanding entrance porch.
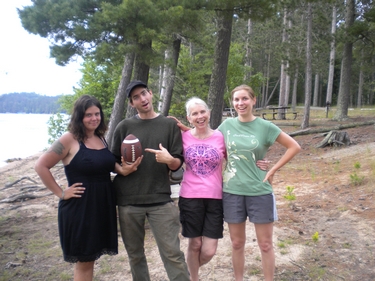
Then we had a good time enjoying the beach, hiking, etc.
Later in the Summer
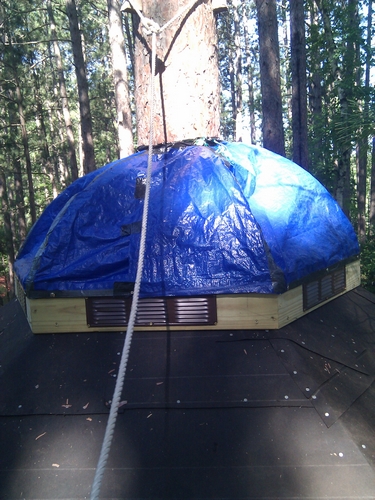
I managed to install a waterproof skirt and vents around the tree at the top of the treehouse, frame in the windows (11 used combination windows found on Craigslist), and install siding.
For siding, I found a deal on 6' cedar fence pickets. I planed them on one side and cut shiplaps on the edges to eliminate gaps.
Putting the siding on was putsy work with all the compound angles at the corners. Thankfully, Erik and Krista came out to help and keep me company.

Fall 2011
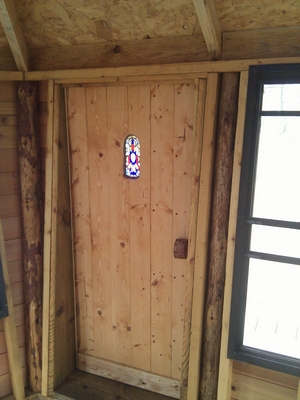
I made it up for a week to stain the siding and build and install a door. Before I left to come up, I made a little stained glass panel out of pieces from
a broken stained glass table by gluing glass pieces to a piece of plexiglass and filling in the spaces with black grout. It was fun -- my first experiment
with stained glass.
2012
- Finished the floor -- much hand-planing and hand-sawing of rough, unsquare 2 X 8 planks, but it looks good.
- Pam added some decorative touches to the inside.
- Aaron helped me install some roll roofing on top.
- Replaced the temporary plastic tarp skirt with a permanent one made of Sunbrella.
- No more tent camping -- it's a beautiful place to hang out and sleep.
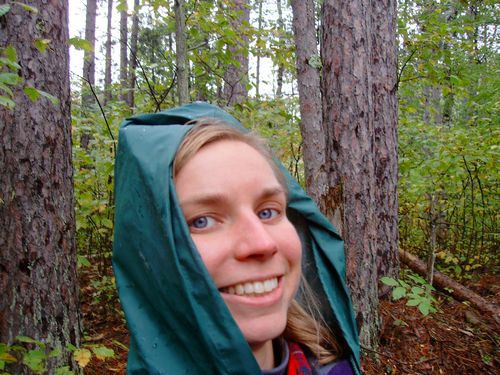
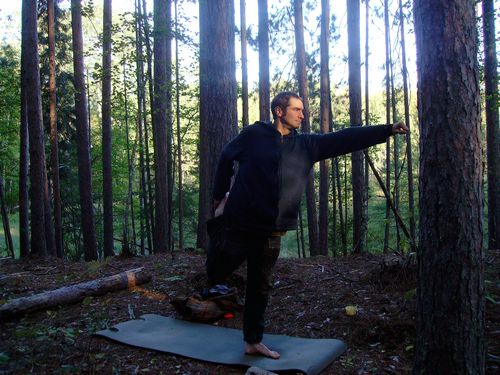
Camp Highlights
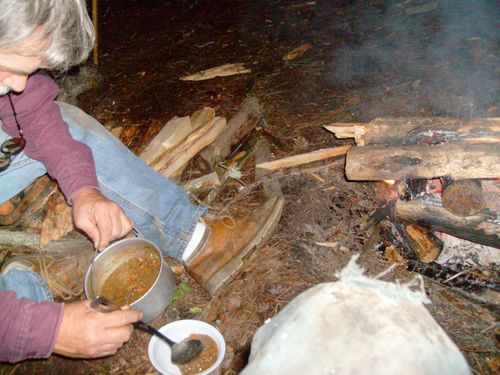
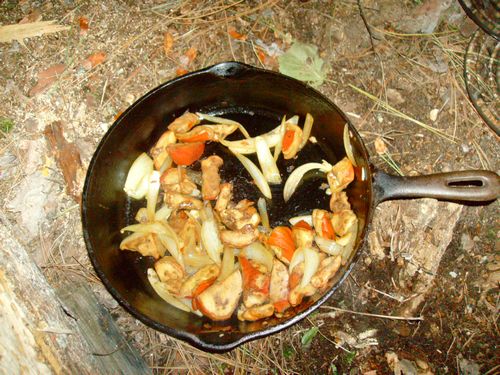
We worked pretty furiously, but had fun and ate well (except for the last day when
we were down to a single can of refried beans). For our most
delectable meal, Aaron found a huge lobster mushroom and fried it up. We
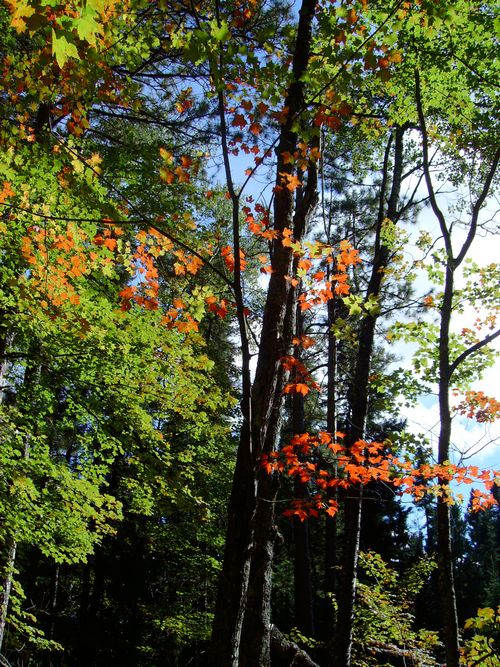
got in some hiking and moonlight paddling, watched the Twins and the Vikings at
the local bar, and watched the leaves turn.
My daughter, Krista, who lives in nearby Hibbing, came out often to provide
moral support and we stayed with her several nights when we needed a break from
camping.

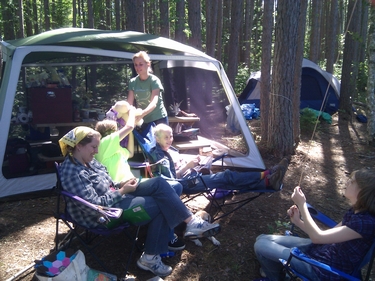
Carrie, Annika, and Camilla come up for a visit.
That's it for now -- thanks for viewing!
lindburly@comcast.net